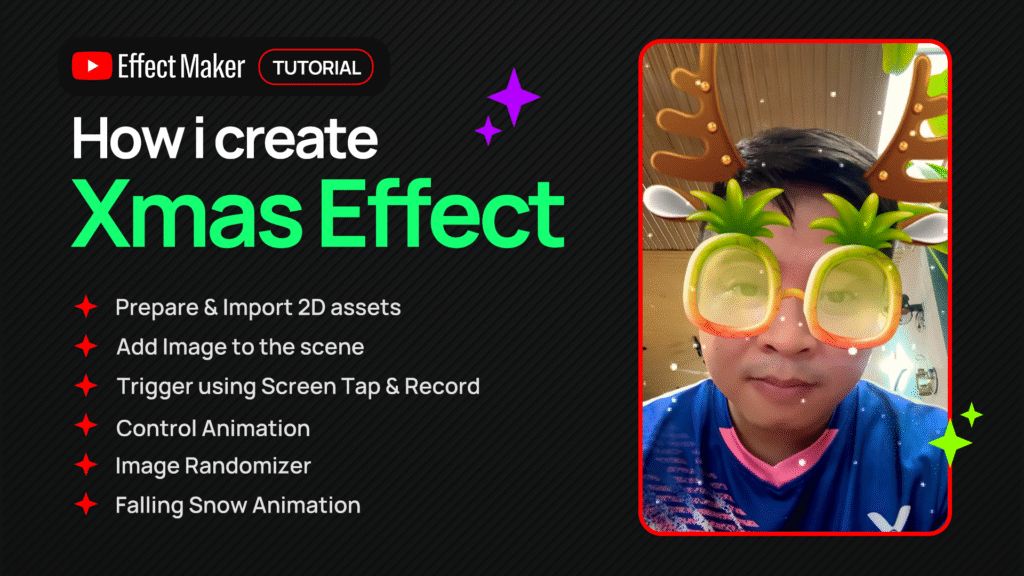
YouTube Effect Maker is a powerful tool that allows you to create unique Augmented Reality (AR) effects for your Shorts videos. In this tutorial, we will dive into creating a simple yet eye-catching Christmas Filter, complete with fun accessories and an infinite falling snow effect, perfect for the upcoming holiday season!
Let’s start, step by step.
1. Preparation and Optimization of Image Assets
Before diving into the design, optimizing your images is crucial to avoid file size limitations.
- Required Assets:
- A set of 6 images for reindeer horns (or other animated accessories).
- A set of 3 images for Christmas glasses.
- A single image to use as the snow texture (usually an image with a black background).
- Important Note on Size:
- The Effect Maker has a maximum image limit (2048×2048 pixels). When using an Image Sequence, the total size of all frames must not exceed this limit.
- Action: Use Photoshop or your favorite image editor to resize all your 2D images to 320×320 pixels (since 2048/6 ≈ 341, 320 is a safe size).
2. Uploading and Creating Image Sequences
After resizing, you will create the animation from the prepared images.
- Open YouTube Effect Maker and go to the Assets Panel.
- Select Image Sequence and upload the 6 optimized horn images.
- Repeat the process with the 3 glasses images to create the glasses image sequence.
- Upload the single snow image (as a regular image).
- Rename the image sequences for clarity (e.g.,
ear sequence,glasses sequence).
3. Adding Face Accessories
The face accessories will automatically track the user’s head movement.
- In the Scene, select Face Accessory Object.
- Add horns/ears: Select Add Image and choose the
ear sequenceyou created. - Use the Properties Panel to adjust the Size, Position, and Rotation so they fit appropriately on the user’s head.
- Add glasses: The quickest way is to Duplicate the existing horns/ears object.
- In the new object (glasses), change the Image Sequence from the horns to the
glasses sequence. - Adjust the position and size for the glasses so they are correctly placed over the eyes.
4. Creating Random Interaction with Visual Scripting
This section will create an animation effect that runs continuously and stops on a random frame when an event occurs.
- Open the Visual Scripting Icon (the cube icon).
- Start the Animation:
- Add a Record node (if you want the effect to only run when the user taps Record).
- Add an Image Sequence Player node. Set the Image Sequence to
ear sequence. - Connect the On Start output ( from the Record node) to the Play input of the
Image Sequence Player. - Set the FPS (frames per second) for the animation speed, e.g., 15.
- Create Random Stop (Tap Option):
- Add a Tap node (to be triggered by screen touch).
- Connect the Tap output to the Pause input of the
Image Sequence Player. (The animation will stop at the current frame when the screen is tapped).
- Stop After Delay Option:
- If you prefer it to stop automatically after, say, 3 seconds: Replace the Tap node with a Delay node.
- Set the Duration to 3 seconds.
- Connect On Start (from the Record node) to the Start input of the Delay.
- Connect On Complete of the Delay to the Pause input of the
Image Sequence Player.
- Apply the same logic for the glasses object (
glasses sequence).
5. Creating the Falling Snow Effect
The trick to creating an infinite falling snow effect is to use two snow images and cycle them seamlessly.
- Add an Image Object for the snow image (
snow image). - Set the size to 1280×1280 pixels to fill the screen.
- Duplicate this snow image to have Snow 1 and Snow 2.
- Move both Snow 1 and Snow 2 to the top of the screen by setting the Y Position to 1280.
6. Creating the Infinite Snow Loop (Transition & Loop)
This is the most complex part, using Visual Scripting to create a scrolling and looping effect.
- Snow 1 Movement:
- Add a Transition node and a Set Property node.
- In Set Property, select Object as
Snow 1and Property asY Position. - In Transition, set Start Value to 1280 and End Value to -1280 (to move from top to bottom).
- Connect the On Change output of the Transition to the Y Position input of the Set Property.
- Set the Duration to approximately 10 seconds (or according to your desired speed).
- Snow 2 Movement (Using Delay):
- Copy the Transition/Set Property logic above and change the Object to
Snow 2. - Add a Delay node with a Duration of 5 seconds (half the Transition time: 10/2).
- Connect the Start command of Snow 1 to the Start input of the Delay.
- Connect the On Complete output of the Delay to the Start command of Snow 2. (This ensures Snow 2 starts moving when Snow 1 is halfway through the screen).
- Copy the Transition/Set Property logic above and change the Object to
- Creating the Infinite Loop (Using Variable):
- Create a new Variable, name it
snow loop, set Data Type toNumber, and Value to0. - Logic: When
Snow 1completes its movement (connect the On Complete output of the Snow 1 Transition), use a Set Variable node to set thesnow loopvalue to2. - Use a Frame Update node (for continuous checking) and an If node to check: If the
snow loopequals2, then:- Reset the
snow loopvalue to 1. - Trigger the Start node of the Snow 1 Transition again (creating the loop).
- Reset the
- Repeat the similar logic to loop Snow 2’s movement.
- Create a new Variable, name it
7: Finalizing with Blend Mode
Finally, we need to eliminate the black background of the snow image to keep only the white snow particles.
- Select each snow object (
Snow 1andSnow 2). - In the Properties Panel, find the Blend Mode setting.
- Change the Blend Mode from
Normalto Screen or Linear Dodge.
Congratulations! You have completed your own infinite falling snow Christmas effect using YouTube Effect Maker. Now go ahead and create some stunning Shorts videos!